Storing Chronology Statements
When you work with historical data, you will encounter temporal statements that are inconclusive. There can be many reasons for an uncertain date, for example: dates are lacking, dates are vague, or dates are conflicting. When you want to store such a date as data, you usually have two options. The first option is to estimate a date based on the available information. The second option is to add a qualitative statement to your date in the form of 'circa', 'around', or even '?'.
Although you can capture the vagueness of a date by adding 'circa', you will not be able to make use of this in filters, analyses, or visualisations. This is because no software knows what you mean by 'circa'. The Chronology Statements that you make in nodegoat allow you to specify what you mean by a statement like 'circa'. Instead of using qualitative statements about vagueness, the Chronology Statements provide you with a way of making quantitative statements about vagueness.
To state that Nebuchadnezzar II was born 'circa 634 BCE' you make a Chronology Statement that reads as 'the date point is between 2 years before the begin of -634 and 2 years after the end of -634'.
The Chronology Statements also allow you to make relational date statements. This means that you can date a letter as being sent between two other letters: 'the date point is between the sending of letter X and the sending of letter Y'. This is covered in the guide on storing relational Chronology Statements.
This guide will demonstrate how to make Chronology Statements in your own environment. This guide uses the Data Model that was created in the guide on creating a Type of Objects.
Date
A Chronology Statement for a date allows you to position a date point in a self-defined range.
Go to the Data section of your environment, open the Object Type ‘Person’, and add a new Object. Scroll down to the Sub-Objects Editor and click on the plus icon next to ‘Birth'. Next to the label 'Date' you see a dropdown menu and an input field. Change the dropdown menu from 'Point' to 'Chronology'. You will now see an input field in which a Chronology Statements that has been formatted as ChronoJSON can be entered. To generate this ChronoJSON click the green 'create' button displayed below the input field.

In the dialogue that appears you see a dropdown menu that is set to 'Point', an input field, and an option to specify a time range. Change the dropdown menu to 'Statement'. The input field is now supplemented with five additional options. These options allow you to make an elaborate statement about this date.
Use the first two options to specify an offset. Enter the value '2' in the first input field and change the dropdown menu from 'day' to 'year'. You have now specified an offset of 2 years. The option to specify a cycle is covered in the guide on creating your own cycles. Use the fourth option to specify an operator that is to be used in this statement. Change 'after begin' to 'before begin'. The final option lets you choose if you want to specify a date or use a reference to a date that has been stored in another Object. In this case you can leave this option to 'Date'. Enter the date '-634' in the input field. Your Chronology Statement should now look like this:
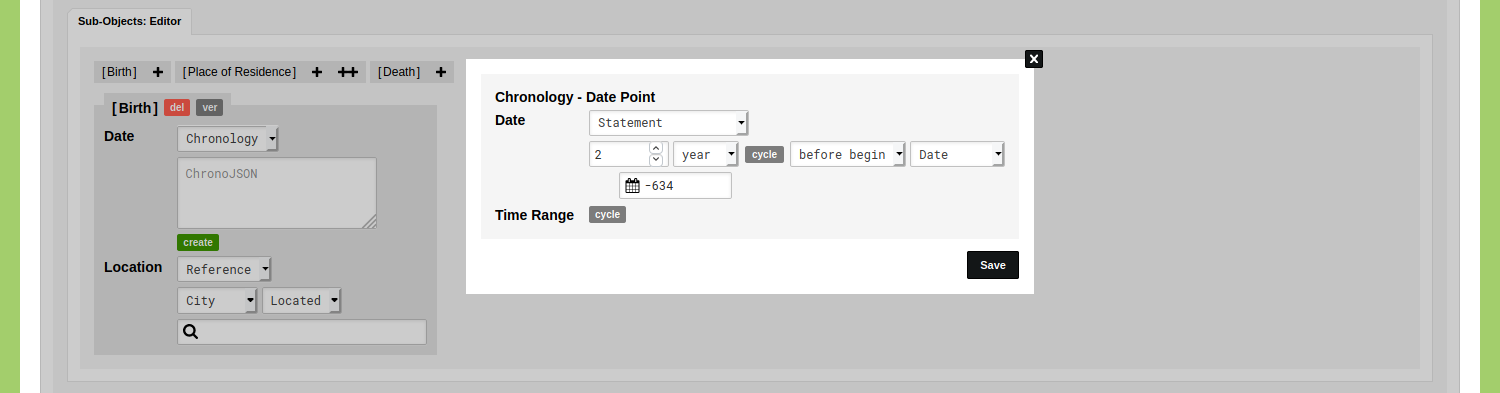
This statement means that the date lies two years before 634 BCE.
To be able to store a statement that specifies a range of uncertainty, change the top dropdown menu from 'Statement' to 'Between Statements'. You will see that you now can specify a second statement. Give this second statement an offset of 2 years and set the operator to 'after end'. Enter the date '-634' in the input field. Your Chronology Statement should now look like this:
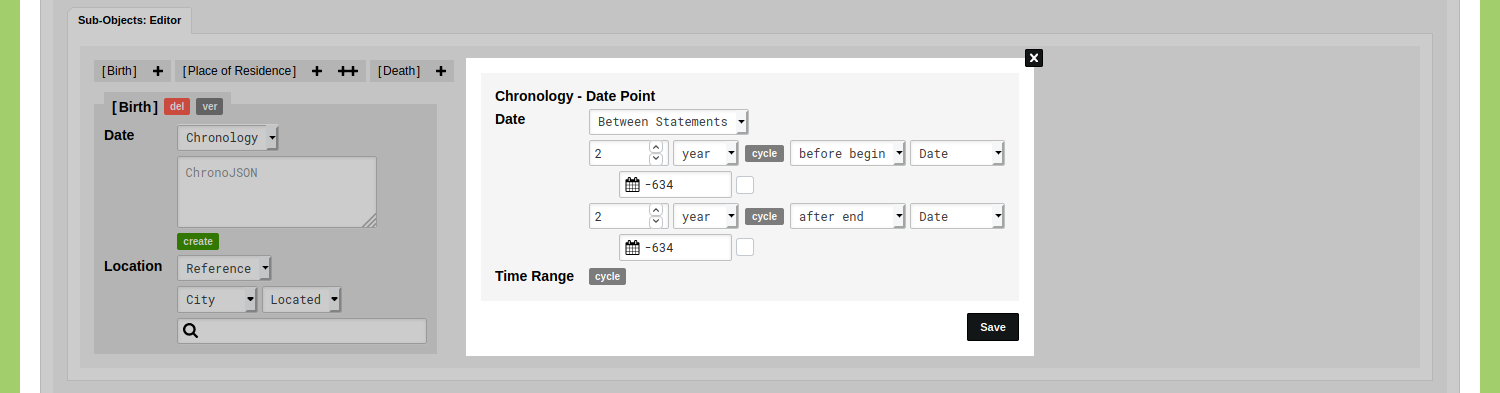
This Chronology Statement captures a date point in a range of 4 years around the year of 634 BCE. Click 'Save'. You will now see the generated ChronoJSON representation of this statement:
{
  "type": "point",
  "start": {
    "start": {
      "offset_amount": 2,
      "offset_unit": "year",
      "date_value": "-634",
      "date_direction": "<||"
    },
    "end": {
      "offset_amount": 2,
      "offset_unit": "year",
      "date_value": "-634",
      "date_direction": "||>"
    }
  }
}
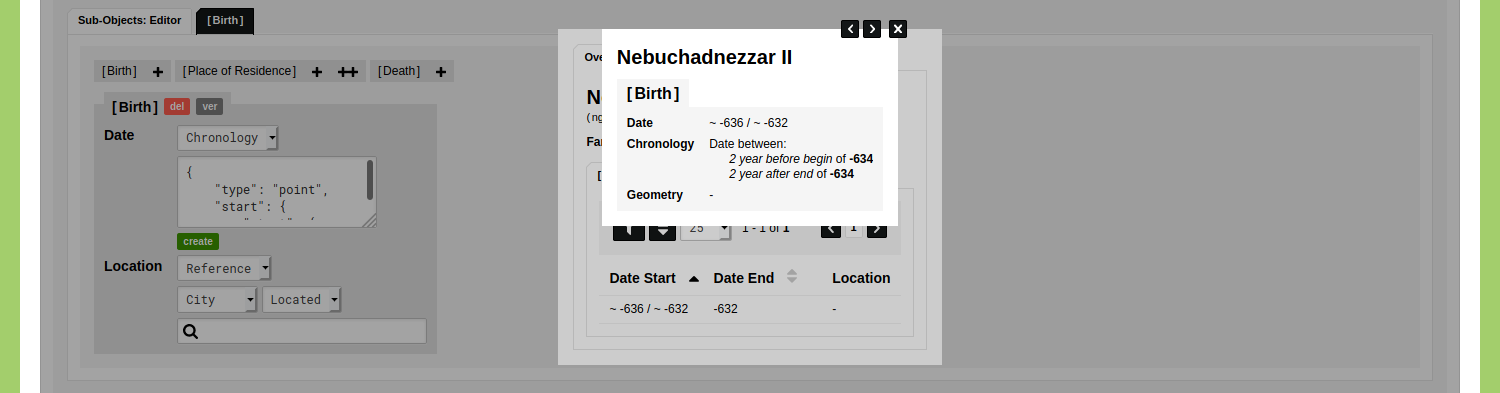
Save this Object and click on its name to view it. You will see that nodegoat has calculated the range of this date point: '~ -636 / ~ -632'. By clicking on the 'Birth' Sub-Object you will see the Chronology Statement:
Period
A Chronology Statement for a period allows you to position a period in a self-defined range.
When you are unable to date something due to a lack of sources, you might know that it happened after a given date but before another date. You can store this assessment by means of a Chronology Statement.
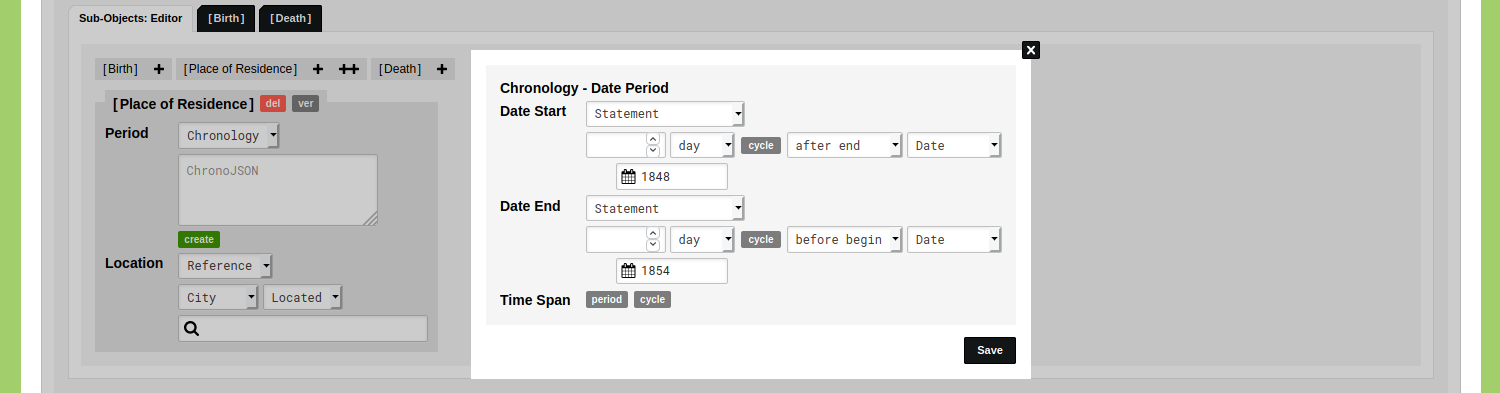
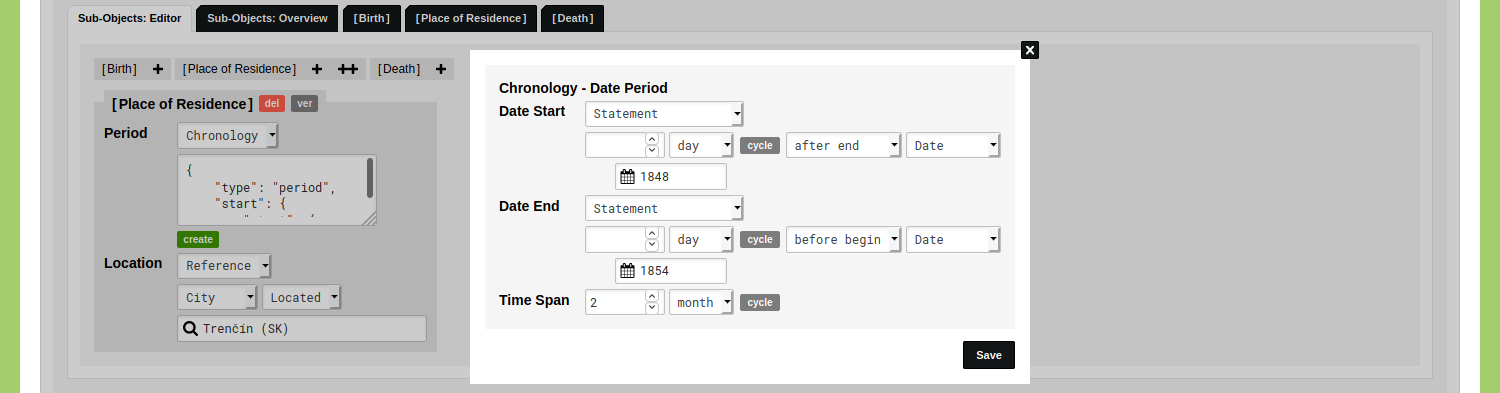
Add or edit an Object and scroll down to the Sub-Objects Editor. Click on the plus icon next to ‘Place of Residence’. Because this Sub-Object is configured to have a period it has two input fields: one for the date start and one for the date end. You can use Chronology Statements for both these dates. To do so, change the dropdown menu from 'Point' to 'Chronology'. Click the green 'create' button to open the Chronology Statement dialog. You can enter statements for both the Date Start as well as the Date End. Do this by changing both dropdown menus from 'Point' to 'Statement'.
Leave the first input field blank for both the Date Start statement and the Date End statement. When doing so, the second option will not be used in the statement.
Change the operator in the Date Start statement from ‘after begin’ to ‘after end’. Change the operator in the Date End statement from ‘after begin’ to ‘before begin’.
Enter the date ‘1848’ in the date input field of the Date Start statement. Enter the date ‘1854’ in the date input field of the Date Start statement.
Your Chronology Statement should now look like this:
This Chronology Statement captures a date period that starts after the end of 1848 and ends before the beginning of 1854. Click 'Save'. You will now see the generated ChronoJSON representation of this statement:
{
  "type": "period",
  "start": {
    "start": {
      "date_value": "1848",
      "date_direction": "||>"
    }
  },
  "end": {
    "end": {
      "date_value": "1854",
      "date_direction": "<||"
    }
  }
}
Click 'Save Person' to store this.
Time Span
You have now stored a period that spans four years (1849-1853). In some cases you know that something happened during such a period but you also know that the development itself only lasted two months. You can store this time span in a Chronology Statement for periods.
Edit the Object of the person you just stored. Scroll down to the Sub-Object Editor and open the tab of the 'Place of Residence' Sub-Object. Click the blue 'edit' button for the Sub-Object you want to change. You will see the ChronoJSON data displayed in this Sub-Object. Click the green 'create' button to edit the Chronology Statement.
Click the grey 'period' button that is displayed next to the Time Span label. Enter '2' in the first input field and select 'month' in the dropdown menu. Your Chronology Statement should now look like this:
Click 'Save'. You will now see the generated ChronoJSON representation of this statement:
{
  "type": "period",
  "span": {
    "period_amount": 2,
    "period_unit": "month"
  },
  "start": {
    "start": {
      "date_value": "1848",
      "date_direction": "||>"
    }
  },
  "end": {
    "end": {
      "date_value": "1854",
      "date_direction": "<||"
    }
  }
}
Click 'Save Person' and open the Object to view it. Click on the 'Place of Residence' Sub-Object to inspect the Chronology Statement.
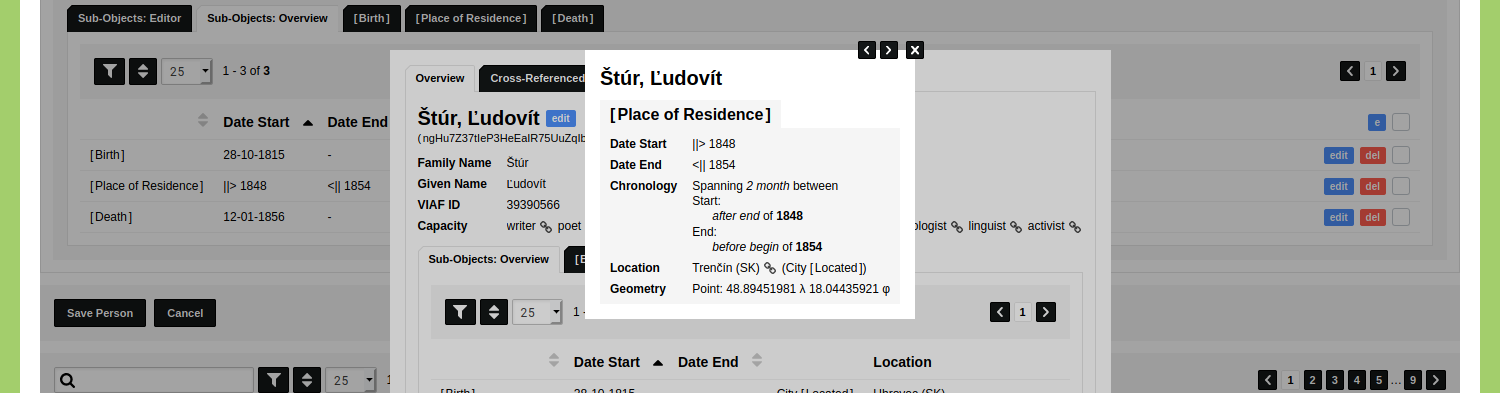
The date that is displayed is the date that is used in the visualisations, filters, and analyses.
The examples shown above demonstrate how you can create Chronology Statements. These examples are not fixed or exhaustive. The logic used in the example for a period can also be applied to a date, and vice versa. You have an almost endless amount of options you can specify, for example: you can create a 'Between Statement' for both the Date Start as well as the 'Date End' of a period. This allows you to use four dates for the description of a period.
In the next guide you will learn how to make relational Chronology Statements.