Update Objects
This guide demonstrates how to update Objects in your nodegoat environment with new data, using the import functionality. For this to work you need to have data in your nodegoat environment that can be identified with a unique identifier. The guide on adding and running an Import Template shows how to import people to nodegoat, including their VIAF IDs. Once you have such an ID available for each Object in nodegoat, you can use this ID to identify the Objects you plan to update.
This guide uses the VIAF ID to connect existing data in nodegoat, to new data that will be imported to nodegoat. The import process that is shown here enriches the Objects of persons imported in the guide 'Create and Run an Import Template' with a link to their Wikipedia page.
You can download this data as a Microsoft Excel file, a LibreOffice Calc file, or as a CSV file. Below you see a screenshot of this data in Microsoft Excel.
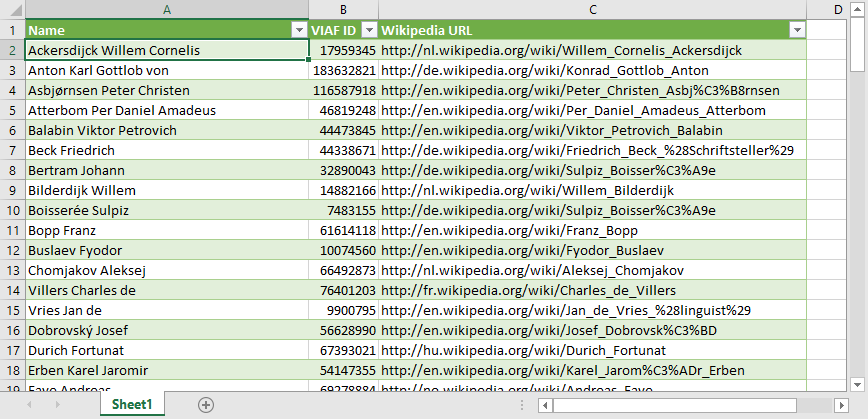
During the import process, every row will be connected to an Object in nodegoat based on the value of field with the heading 'VIAF ID'. The import process performs a filter on the Objects in nodegoat using the value of the VIAF ID and will update the Object that is found by the filter.
Make sure your Data Model and the data in your nodegoat environment are ready before your run the import. To be able to run this import, you need to have an Object Description in the Object Type 'Person' in which these URLs can be stored. If you have not created this, go to Data Model, edit the Object Type 'Person' and add an Object Description with the name 'Wikipedia URL'. Change the drop-down menu that is set to 'String' to 'External'. You are now able to store the Wikipedia URLs. To check if the necessary unique identifiers are present: go to the Data section of your nodegoat environment and make sure that you have stored a VIAF ID for the Objects of the Type 'Person'.
Run the import
Upload the CSV file with the Wikipedia URLs. After you have uploaded this file, you go to the tab 'Import Template' and click on 'Add Import Template'. Select the uploaded CSV file that contains the Wikipedia URLs and the target Object Type 'Person'. Give the Import Template a name like 'My first import with updates'. Change the Mode to 'Update Existing Objects'.
After you have specified these settings, two new forms appear. The form with the name 'Columns used as Filter' allows you to connect the rows in your CSV file to Objects in your nodegoat environment. The form with the name 'Connect Column Headings to your Data Model' allows you to specify where the data in your CSV file should be store.
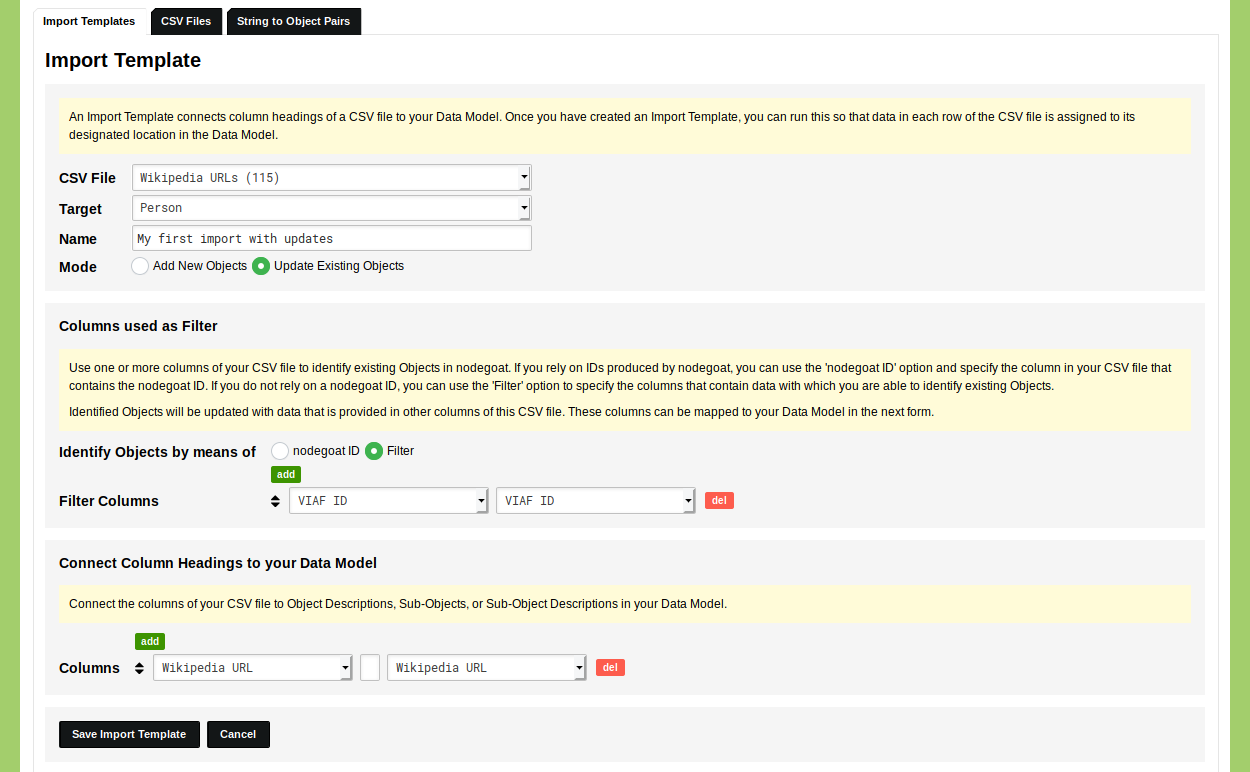
In the form 'Columns used as Filter' you change 'Identify Objects by means of' to 'Filter'. You can now select the column that contains the value used to identify Objects. In the first row: use the first drop-down menu to select the column heading 'VIAF ID' and use the second drop-down menu to select the Object Description 'VIAF ID'. Click the red 'del' button to remove the second row.
In the form 'Connect Column Headings to your Data Model' find the drop-down menu that has the column heading 'Wikipedia URL' selected. In the same row, select the Object Description 'Wikipedia URL'. Set the other column headings to empty values and use the red 'del' button to remove them.
Your Import Template should now look like this:
Click 'Save Import Template'. The Import Template is now listed in your overview of Import Templates. Click the green 'run' button on the right side of this overview to run the Import Template. Select the CSV file you want to use and inspect the displayed fields to see whether everything has been configured correctly. If everything is correct, click 'Next' to run the Import Template.
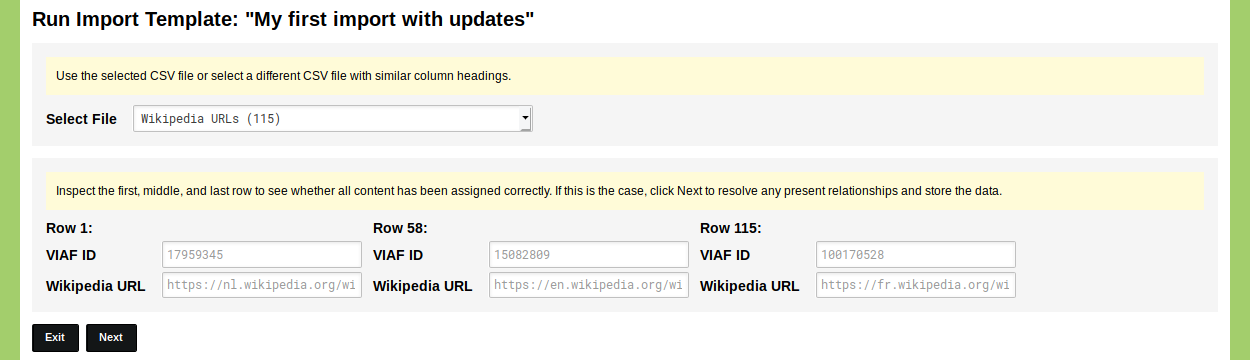
Once you click 'Next', the Import Template runs and informs you about the results. If everything went correctly you now have updated 115 Objects in the Type 'Person'. Navigate to the Data section and open the Type 'Person' to inspect the updated Objects.