Add External Identifiers
An external identifier is an ID that is used to describe an entity in another dataset. An example of an external identifier is the ID '2988507' that is used in the dataset of GeoNames to identify the city Paris in France. If your data refers to this location, it is wise to include this external identifier as well. By including the identifier '2988507' in your dataset, you explicitly state that you are dealing with the capital of France, and not with any other location with the same name (e.g. the town of Paris in Canada that has the ID '6942553' in the GeoNames dataset).
You can also use external identifiers to identify people. You can use the Virtual International Authority File of the OCLC for this. For the person 'Barbara Smith', you can include the VIAF ID '90418385' to state which 'Barbara Smith' you mean.
External identifiers can also be used to describe attributes. You can include the Wikidata ID 'Q1028181' to identify the capacity 'painter'.
Adding external identifiers to your data has a number of advantages. During the research process, you can use these identifiers to quickly find material that has been stored about your objects elsewhere. You can query other databases to find data that references the same GeoNames IDs, or you can use the VIAF IDs to query library catalogues to find publications of your research subjects.
After your research project has ended and you decide to publish your dataset, these external identifiers will make your dataset interoperable and reusable. If you decided to describe the location of Paris with the GeoNames ID '2988507', your peers will immediately know which Paris you meant. The same goes for the people in your database: since names of people can change and are prone to spelling differences, a VIAF ID is of great value because it is able identify the relevant person without any ambiguity.
This guide will demonstrate how to add external identifiers to your dataset.
Manually Adding External Identifiers
The most straightforward manner to add external identifiers is doing this by hand. To do this, go to Model and edit the Object Type 'Person'. Click the green 'add' button in the tab 'Object' to create a new Object Description. Give this Object Description the name 'VIAF Identifier'. If you want to store the ID only, leave the value type to 'String'. If you want to store the URI, change the value type to URL. Click 'Save Object Type'.
Go to the Data section of your environment and add an Object of the Type 'Person'. Enter the ID or URI in the newly created Object Description and save the Object.
If you have the shared Object Type 'City' enabled in your project, you will see that for each Object a GeoNames ID has been stored. This ID can be used to disambiguate locations, and can be included in your data publications to identify locations.
Linked Data
You can also add external identifiers by means of the Linked Data Resource module. With this module, you query an external resource and store the returned ID or URI in your nodegoat environment. In the case of VIAF, you can use one of their APIs to receive an identifier based on a name search.
The benefit of this approach is that you don't need to switch between your nodegoat environment and VIAF, because you query VIAF from within your environment.
This works as follows: when you send a string like 'Smith' to the Authority Cluster Auto Suggest API, you get a response that includes names of people, plus their VIAF IDs. The response is sent as a small dataset, formatted in JSON. When you store this request in the nodegoat Linked Data module, the response is sent to your environment and you can select the relevant person to store their VIAF ID.
To set this up, go to Model and go to 'Linked Data'. Click 'Add Linked Data Resource' and give it a name like 'VIAF'. Change the protocol from 'SPARQL' to 'API' and enter the request URL 'http://www.viaf.org/viaf/AutoSuggest?query=' in the 'URL' input field. Leave the 'URL Options' empty.

Enter the following tags in the 'Query' input field:
[query=name][variable]Smith[/variable][/query]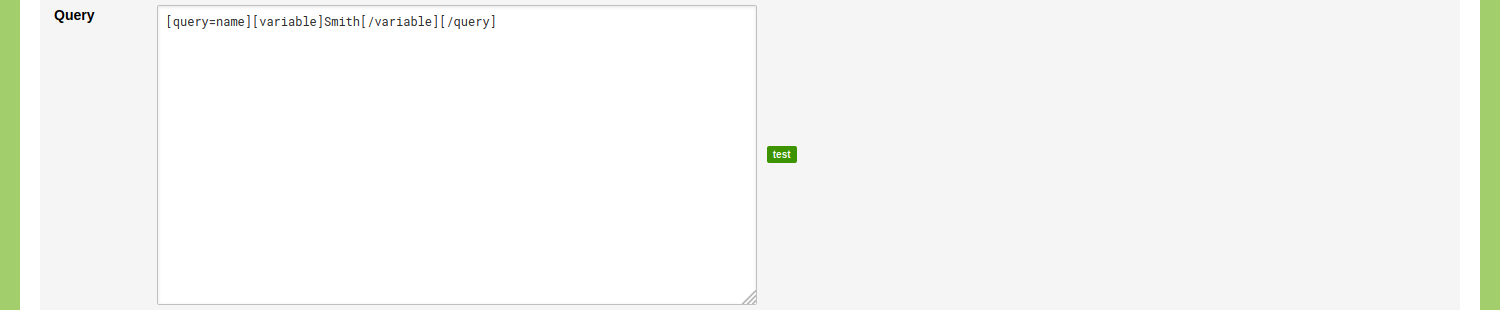
These tags allow you to input different strings in the request. The value 'Smith' is used here as default input for the API, so it has no further meaning.
As you can see in the info text shown above the input field, there are many more options available. These options are used when querying SPARQL endpoints. For more information about this, read the blog post 'Linked Data vs Curation Island'.
Click the green 'test' button shown on the right side of this input field. You should now see the response of the API in the 'Response' field. In the response you will find the name of every returned person, defined by 'displayForm'. The VIAF ID is defined by 'viafid'. Click the green 'use' button shown on the right side of the 'Response' input field to configure the 'URI' and 'Label' dropdown menus.
Select the location of the VIAF ID by means of the 'URI' dropdown menu{"result":{"[]":{"viafid":""}}}. Select the location of the name of a person by means of the 'Label' dropdown menu {"result":{"[]":{"displayForm":""}}}.
Since the VIAF ID is shown as an ID only, you can add 'https://viaf.org/viaf/' in the 'URI Template' input field to produce a clickable link.

Click 'Save Linked Data Resource'.
Go to Model and edit the Object Type 'Person'. Click the green 'add' button in the tab 'Object' to add a new Object Description. Name this Object Description 'VIAF URI' and change the value type from 'String' to 'External'. A dropdown menu with the label 'Source' appears below this newly created Object Description. Change this value from 'URL' to the Linked Data Resource you created before. Check the checkbox for 'Multiple' to allow for multiple URIs in one Object Description.

Click 'Save Object Type'.
Go to Data, select the Object Type 'Person' and edit an Object. You will see that the newly created Object Description has a magnifying glass. Enter the name of the person in the input field. When you finish typing, the input is sent to the VIAF API and the response is shown as a dropdown list.
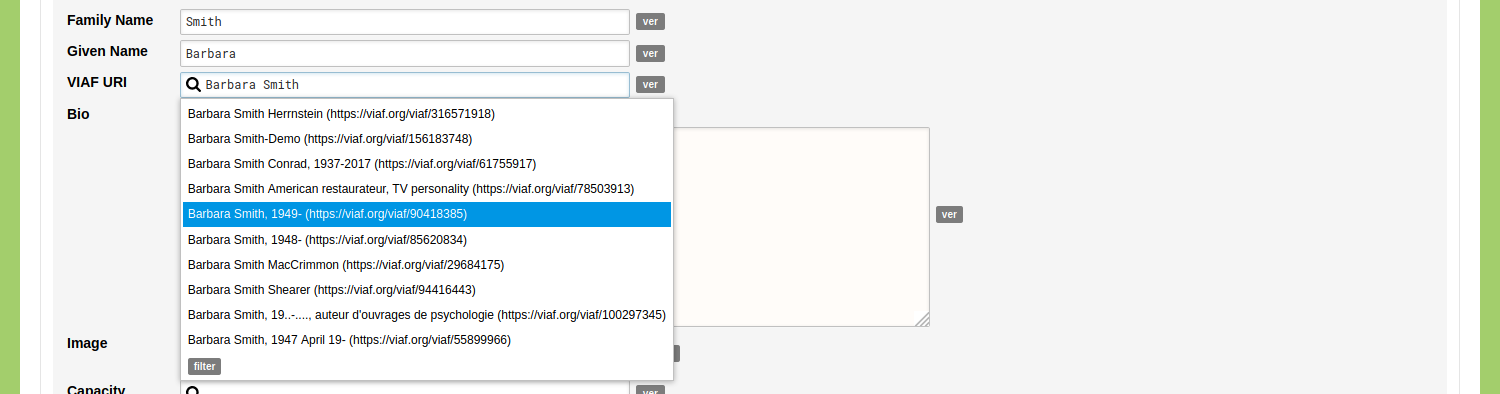
If you find the person you are looking for in this list, click on the name to store the URI in this Object.
If the response contains multiple similar names, click the grey 'filter' button. Enter the name again in the input field with the magnifying glass. The result that is now shown also includes a clickable URI for each person. Click this link to go to the VIAF page which will give you more information about the person. Check the option for the relevant person and click 'Select'.

Click 'Save Person'. Open this Object in view mode to inspect the result. You will see that you now have a clickable URI stored that brings you the VIAF page of this person, that has numerous links to other resources.