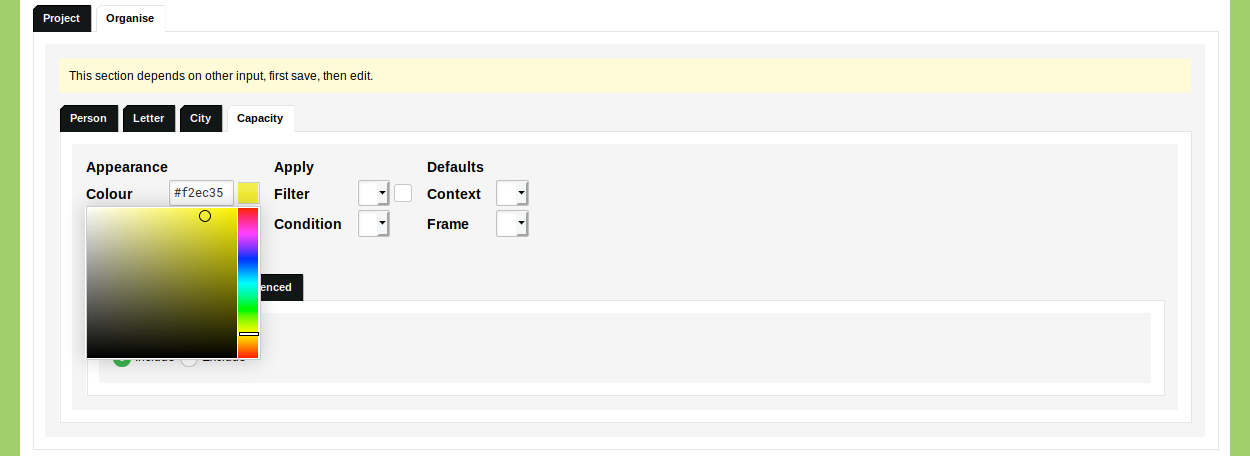
Set a Colour for your Object Types and Classifications
Go to Management and go to Projects. Click the blue 'edit' button at the Project 'Correspondence Networks' to edit your Project.
Click on the tab 'Organise'. For each Object Type and Classification enabled in this Project you see a tab. By clicking on a tab you see a number of settings that can be configured per Type and Classification.
Click on one tab and locate the 'Colour' input field. Click on this input field to select a colour or enter a colour code in a six-digit hexadecimal notation (e.g. #a3ce6c).
The specified colour will be used throughout this project to colour occurrences of Objects or Categories (i.e. the nodes in the Social Network Visualisation, or tagged Objects/Categories in texts). This colour overrides the colour set in the data Model.
In the project 'Correspondence Networks', set the Type 'Person' to a red colour, set the Object Type 'Letter' to a blue colour, and set the Classification 'Capacity' to a yellow colour:
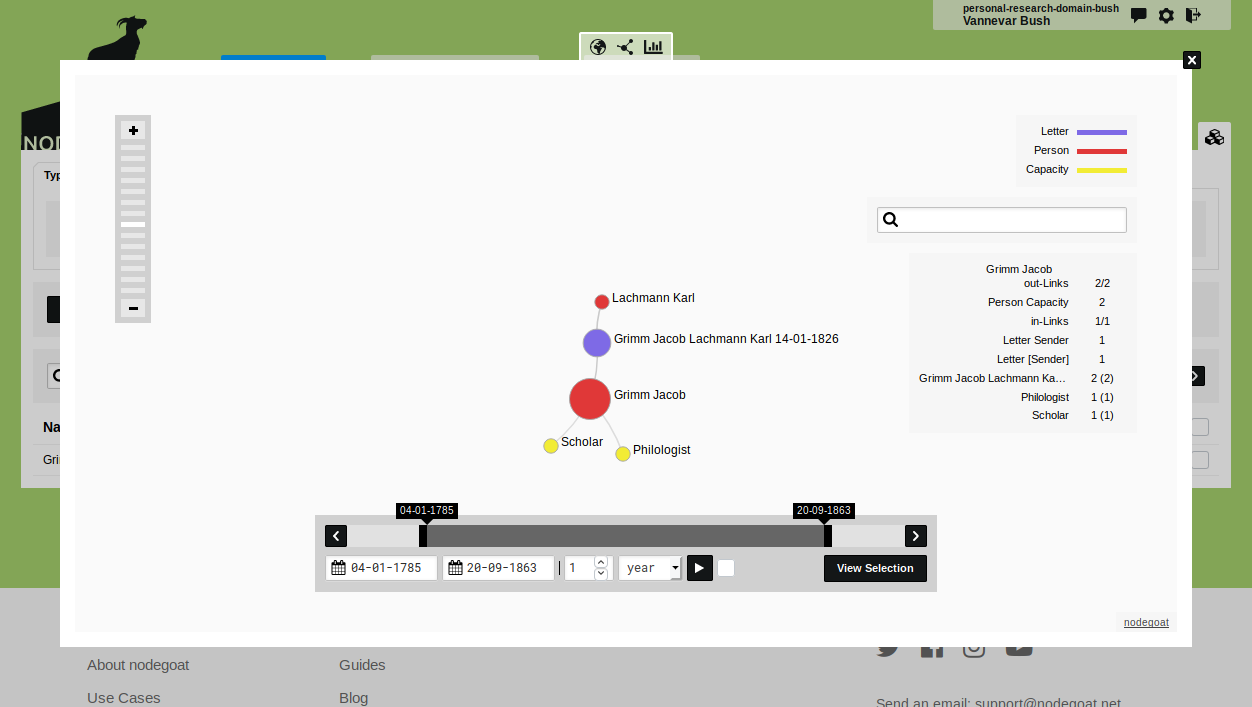
Click 'Save Project' and go to the 'Data' section. Go to the tab 'Objects' and open the Object Type 'Letter'. Open the Visualisation Settings with the icon to specify a Scope. Include the data of the Related Objects of the Type 'Person' by checking the checkbox for the Letter [Sender] Person Person relationship. Click 'Save Visualisation Settings' and run the Social Network Visualisation by clicking the icon. Your visualisation should now be coloured like this: