Export data to Gephi
To generate a visualisation of your nodegoat data in an application like Gephi you need to export your data in such a way that it can be processed by the visualisation application. In the case of Gephi this means that your data needs to be transformed to a graph structure of 'nodes' (points in a network) and 'edges' (lines that connect the nodes). A node is the same kind of entity as what is called an Object in nodegoat. All the references that you create in nodegoat (between Objects, or between Objects and Categories) are edges. In Gephi every edge has two attributes: a source and a target. Depending on your model, you might need to run several exports to collect all the edges and merge these files in order to create one edges table.
In this guide we will export correspondence data from nodegoat that you can import in Gephi. We will run an export from the Object Type 'Person' in order to create a nodes table of all the correspondents. We will run an export from the Object Type 'Letter' to create an edges table. The letter Objects will constitute edges with a source (the sender) and a target (the receiver).
Export a CSV as Nodes Table
Go to the Data section of your environment and go to the Object Type 'Person'. Click the ('Export Settings') icon next to the ('Export') icon. Go to the second tab 'Format' to specify the format of the export. Set 'Format Type' to 'CSV (Comma Separated Values)'. Set 'Include Descriptions' to 'Yes'. Set the 'Separator' character to a comma (,) the and 'Enclose' character to a quotation mark (").

Go to the first tab 'Select' and use the options at the left side of this dialog to configure the export settings of the Object Type Person. Check the 'Object ID' and 'Name' options shown in the list of options next to the 'Object' label. The Object ID will be used as the node ID, while the name will be used as the node label.
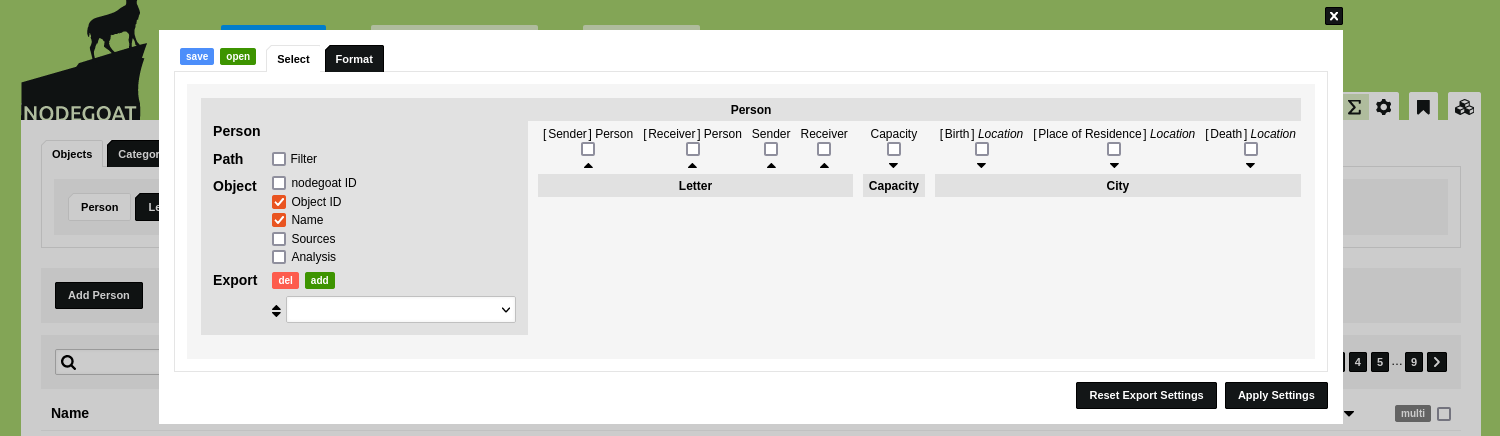
If you want to export more than only an identifier and a label for your nodes, you can use the dropdown menu next to the label 'Export' to select additional elements of your data model. Click the green 'add' button to add more options. This is especially useful when you want to use values of Object Descriptions as attributes for nodes partitions in Gephi.
Click 'Apply Settings'. Click the ('Export') icon in the toolbar to run the export. The CSV file will be downloaded to your hard drive. Open this file in any plain text editor like Notepad (windows) or TextEdit (macOS) to change the column heading "Object ID" to "ID" and the column heading "Name" to "Label". This ensures that Gephi uses the Object ID as node ID and the Object Name as label. Open this file in the 'Import Spreadsheet' dialog from the Data Laboratory in Gephi. Make sure you import this CSV as 'Nodes table'.
Export a CSV as Edges Table
Go to the Data section of your environment and go to the Object Type 'Letter'. Click the ('Export Settings') icon next to the ('Export') icon. Go to the second tab 'Format' to specify the format of the export. Set 'Format Type' to 'CSV (Comma Separated Values)'. Set 'Include Descriptions' to 'Yes'. Set the 'Separator' character to a comma (,) the and 'Enclose' character to a quotation mark (").

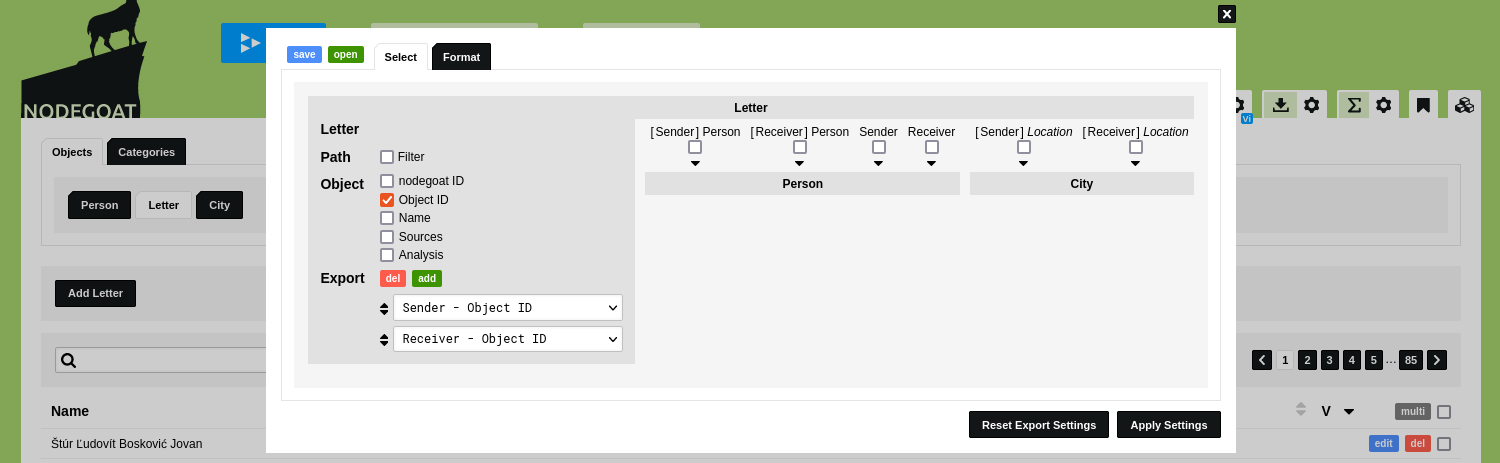
Go to the first tab 'Select' and use the options at the left side of this dialog to configure the export settings of the Object Type Letter. Check the 'Object ID' option shown in the list of options next to the 'Object' label. The Object ID will be used as the edge ID.
Use the dropdown menu next to the label 'Export' to select the Source and Target data for the edges. Click the green 'add' button twice. Use the first dropdown menu to select 'Sender - Object ID' and use the second dropdown menu to select 'Receiver - Object ID'. The 'Sender - Object ID' references the Object IDs exported from the Object Type 'Person' and will be used as Source data for each edge. The 'Receiver - Object ID' also references the Object IDs exported from the Object Type 'Person' and will be used as Target data for each edge.
If you want to export more than only a Source and Target, you can click the green 'add' button to add more options. This is especially useful when you want to use values of Object Descriptions as attributes for edges partitions in Gephi.
Click 'Apply Settings'. Click the ('Export') icon in the toolbar to run the export. The CSV file will be downloaded to your hard drive. Open this file in any plain text editor like Notepad (windows) or TextEdit (macOS). Change the column heading "Object ID" to "ID", change the column heading "Sender - Object ID" to "Source", and change the column heading "Receiver - Object ID" to "Target". This ensures that Gephi uses these Object IDs as Source ID and Target ID. Open this file in the 'Import Spreadsheet' dialog from the Data Laboratory in Gephi. Make sure you import this CSV as 'Edges table'.
As this dataset contains multiple letters between the same set of correspondents, the import process in Gephi will notify you of parallel edges. Use the 'Sum' option for the edges merge strategy to group identical edges.